


 30 DAY MONEY BACK GUARANTEE. NO QUIBBLE!
 FREE MAINLAND UK SHIPPING ON ORDERS ABOVE £49
 FRIENDLY CUSTOMER SUPPORT
  SAFE & SECURE PAYMENTS. ALL MAJOR CARDS
Taking a bike on a plane, helpful tips you will want to know
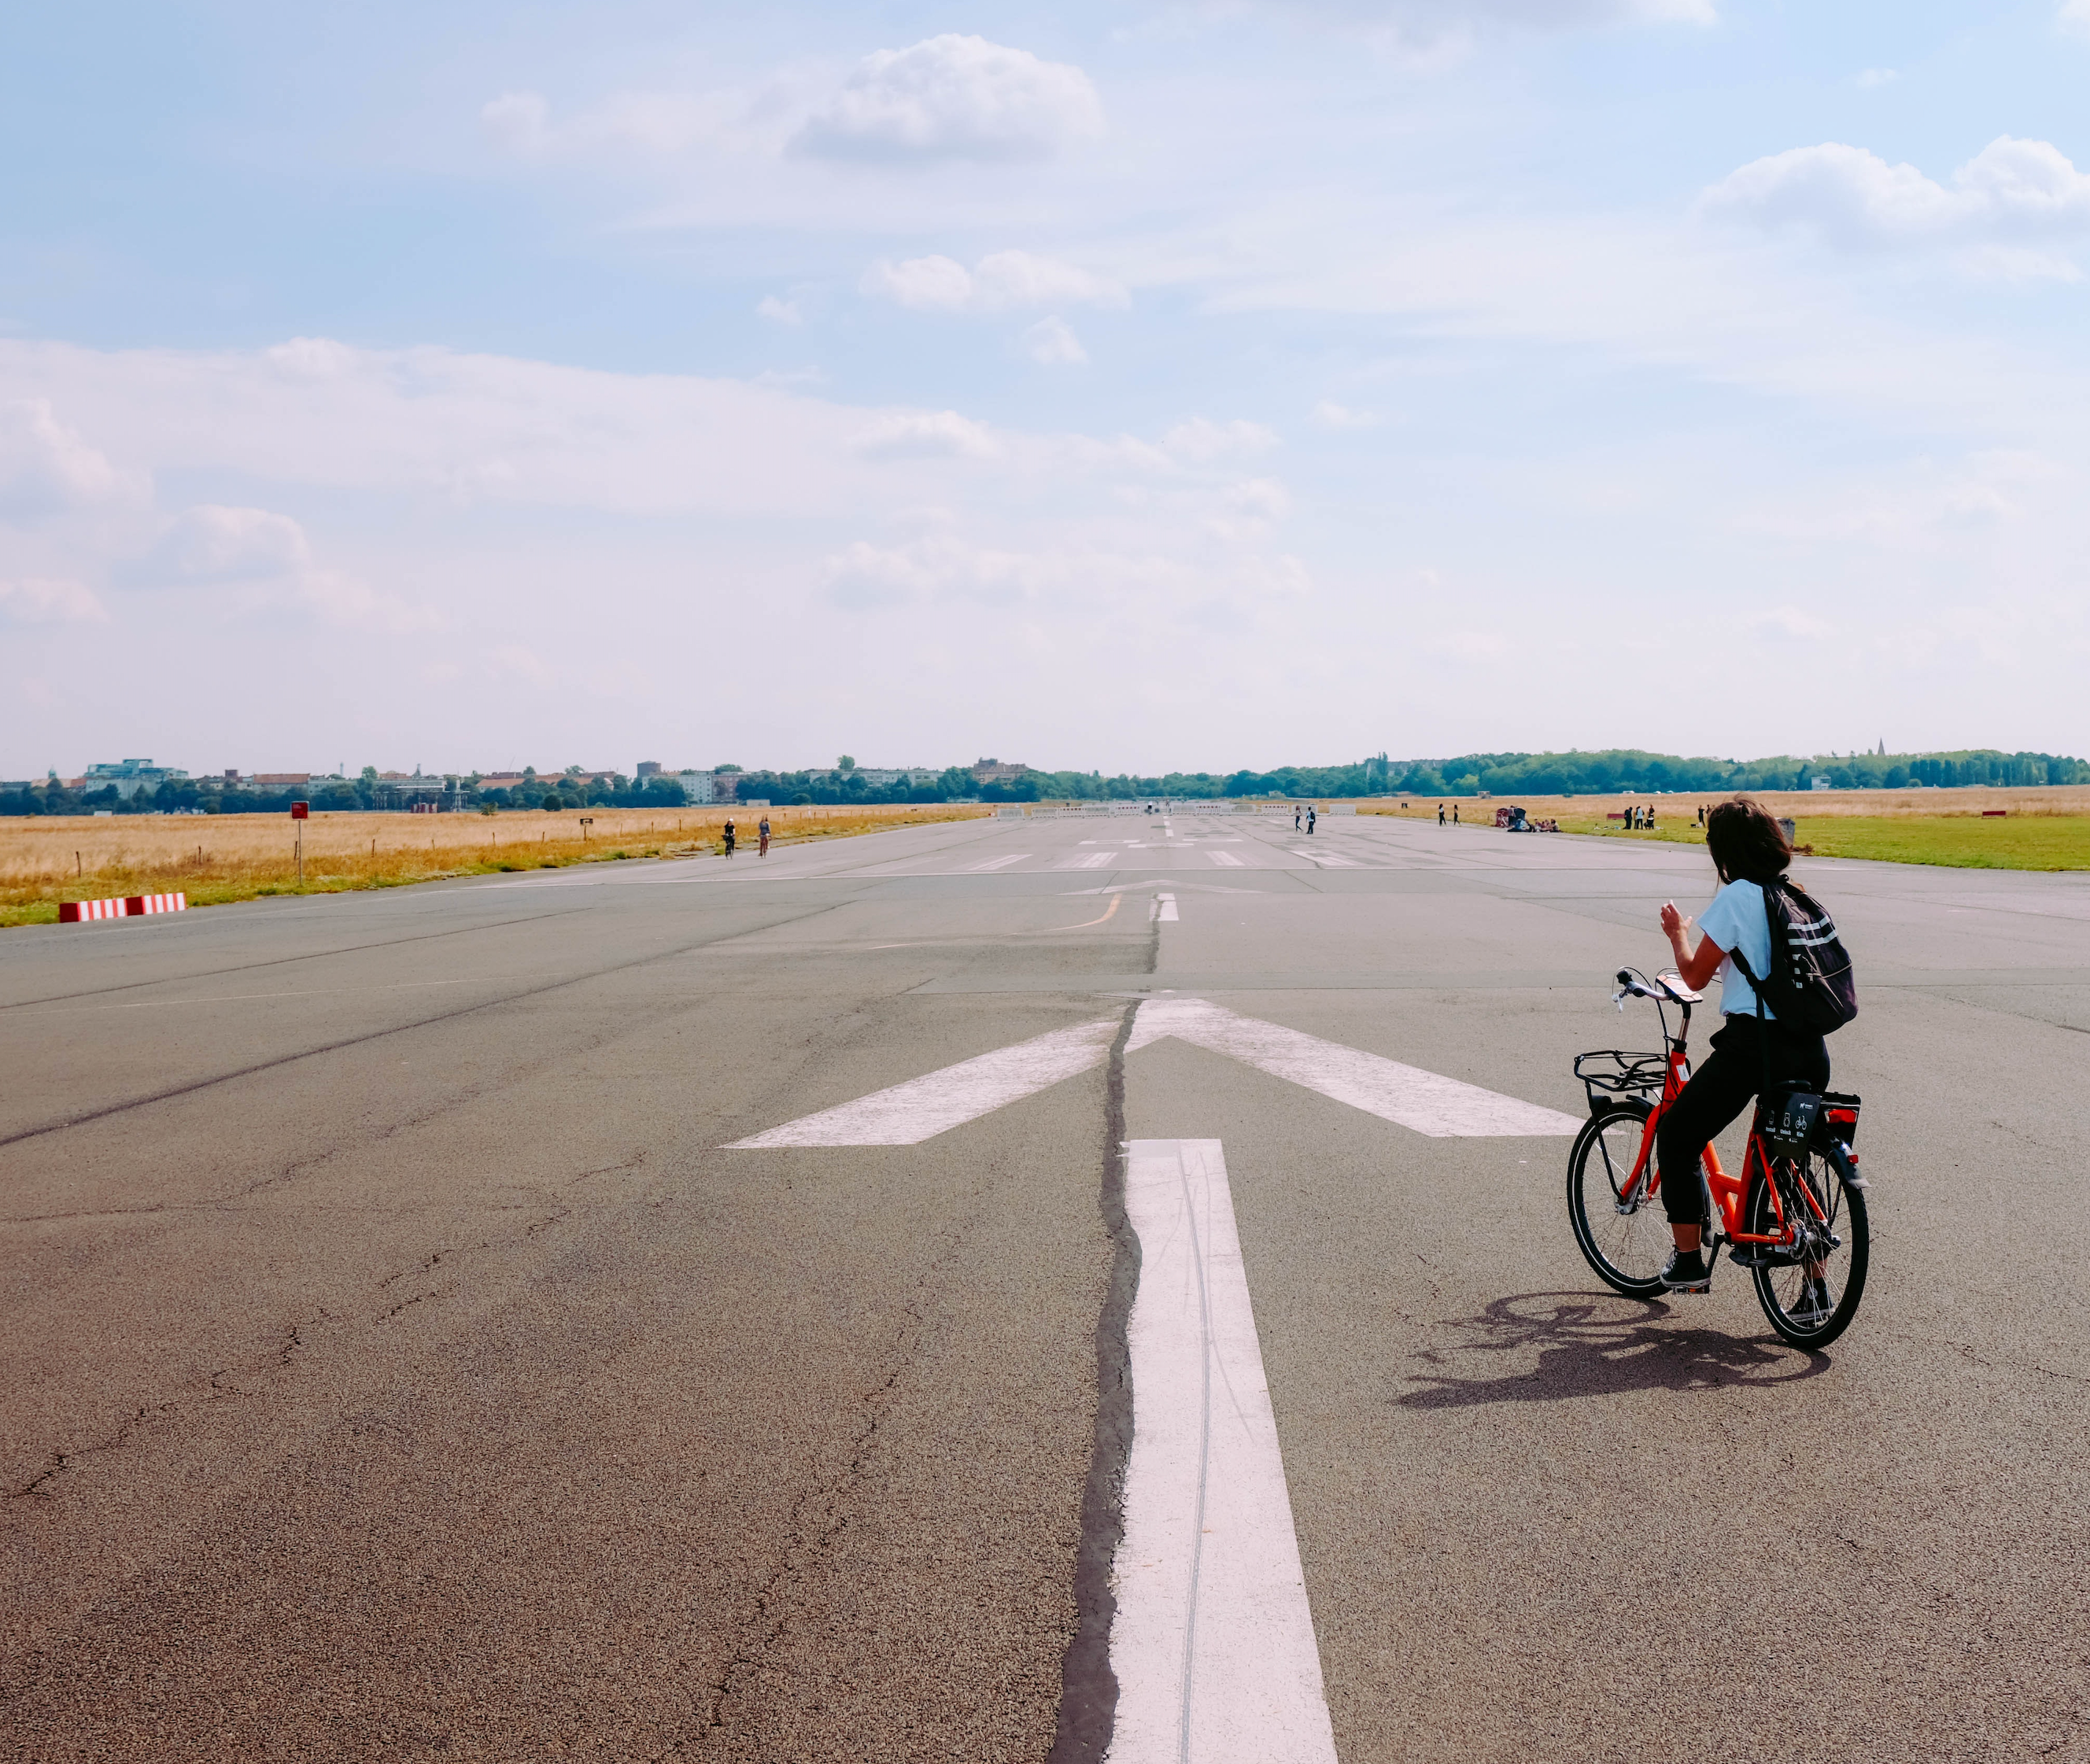
Have you ever been on holiday and wished you had your bike with you?
Maybe you’re on a nice city break and there’s hire bikes, or you’re at a resort and there are bikes they let you use.
But for some, myself included, it’s not the same unless you’re on your own bike. It fits, you know how it handles, you love the way it looks.
So, how do I get my bike onto the plane and off at the other end?
Well, it’s easier than you might think! This blog is going to cover the key aspects of flying with a bike, including:
1.What to consider before you book
2.Packing your bike for travel
3.Getting to the airport
4.Checking in at the airport
5.What to do on arrival
Our team have flown all over with our bikes. Personally, I’ve flown with my bike from London to Singapore, South Africa and, most recently, India. So here’s some tips and tricks to make the whole experience slightly less stressful.
1) Before you book your flight
Not all airlines are equal. No, I’m not talking about the food (though I’ll mention that later). It’s the baggage rules that matter here.
You’ll have to resist the temptation simply to click on the cheapest price for your journey since each and every airline has different rules regarding what can and cannot be taken on the flight and what does and doesn’t count in the baggage allowance included with your ticket.
Whether you’re flying long haul or short haul will also make a difference. There’s also a big difference between the budget airlines (like Ryanair) versus national carriers (such as British Airways). We know you love your bike, but no one out there is going to let you take it on as hand luggage - though you might get away with a Brompton, if you’re lucky.
Before we get started, it’s worth noting that few airlines, if any, allow you to fly with an e-bike. Some might, if you are able to remove the battery, but most just say no. So, everything that you read from here applies to standard, non-electric bikes.
So, before you buy the ticket, you need to do three things:
- Have a rough idea of how much your bike weighs, including whatever bag or box you pack it into (more on packing your bike later). Some airlines allow bikes as part of the general luggage allowance, others won’t. Some will insist you stay within the standard suitcase weight limit, others will let you exceed it.
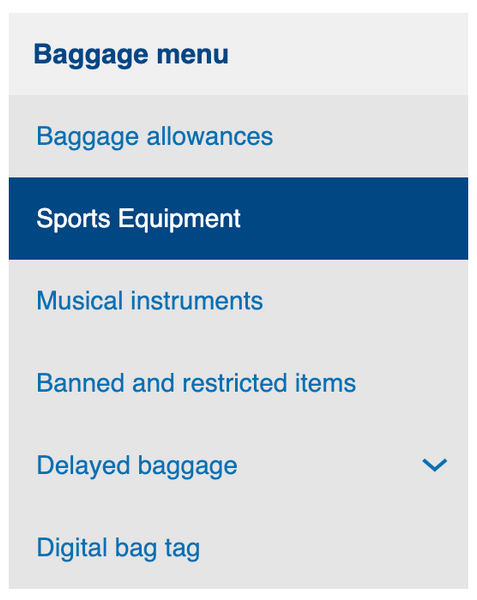
2. Go to the airline’s website and find out what they say about bicycles. You’ll probably want to click on the bit that says ‘Sporting Equipment’ and scroll past all the stuff about skis. Some airlines will require advance notice that you intend to bring a bike, so make sure you check that too!
3.Know the dimensions of your packed bike. Again, all the airlines differ on this. The three standard approaches to packing a bike listed below generally come within the limits, but you should check before you fly.
Once you’ve done this, you’ll know whether you’ll be paying extra to take your bike - that super cheap deal may not look so good once you discover it’ll cost loads more to take the bike!
2. Packing your bike
Look, I’m one of those people that packs a little bit too last minute…
Please, trust me on this one, you do not want to be trying to pack your bike up ten minutes before the taxi arrives. And on that note, you might want to ask the taxi driver what kind of car they drive - you will not be fitting your bike, three suitcases and a pram into a Prius!
First up is deciding what you’re going to use to pack your bike.
There’s pretty much two ways to go about this: bike-specific cases and bags, or a large cardboard box.
Please, whatever you do, don’t just pitch up at the airport with your bike!
Hard Cases
The ultimate way to fly with a bike is a hard-shell case - imagine a Samsonite case, but made to fit a bike.
The advantages of a hard case is that you can rest easy, there’s little chance your bike will get damaged in flight, even if it gets thrown around by the baggage handlers.
But there are some cons…
They don’t come cheap. ‘Budget’ cases start at around £250 and the best will set you back up to £1000. If you’re going to be a frequent flyer, this might make sense. But if it’s more of a one off, it’s a significant expense.
Remember you’ll need to store the case once you’ve got to your destination or back home. These cases are bulky and may not easily fit under a bed or on top of a wardrobe.
Hard cases are great as they have all kinds of straps and compartments to make sure that your bike and its parts are perfectly protected - so much so that you won’t need to use any extra padding to make sure your bike arrives safely.
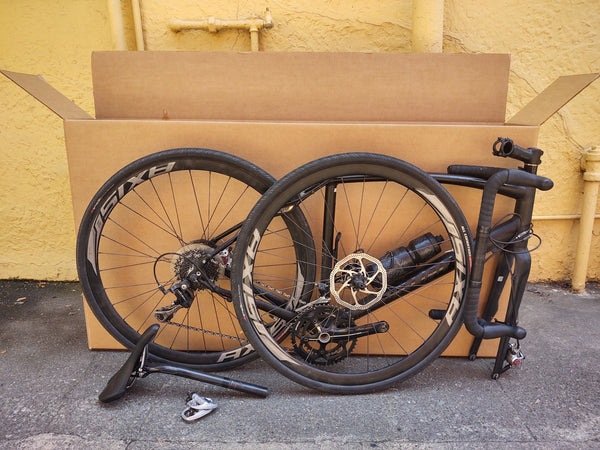
Cardboard Boxes
The cheapest way to fly with a bike is simply to pack it in a cardboard box - the kind in which a new bike arrives.
Right now you might be cursing the fact that you threw out the box that your bike came in - but worry not, take a trip to your local bike shop and see if they’re throwing any out. Some may ask you to pay a small amount, but many will be happy for you to take one off their hands for free.
You’ll want to add a good deal of padding inside the box to make sure your bike survives the journey though, so dig out some old blankets, towels, newspaper or bubble wrap.
It might seem like a good idea to use the clothes or other stuff you’re travelling with, but remember that you’ve potentially got a load of chain oil, brake dust and road filth on your bike - and you don’t want all of that smeared on your beach dress!
Bike Bags
There’s a halfway house between expensive hard cases and a cheap old cardboard box, and that’s a bike bag.
Like hard cases, they are specifically designed to carry bikes, but they’re a lot cheaper and they can be folded up for storage.
However, they won’t offer the same kind of protection that a hard case provides, no matter how much padding they have.
Something to consider here is placing your bike bag inside a cardboard bike box to give yourself a bit more peace of mind that your bike won’t be damaged, without breaking the bank!
Right, you’ve booked your ticket and you’ve decided what you’ll be using to pack your bike, now it’s time to get ready!
Whilst airlines all have different rules about whether or not you can fly a bike and if it will cost you extra, they do all seem to agree on the extent to which you’ll have to dismantle your bike.
Expect to turn the handlebars sideways to narrow the profile of your bike - so you’ll have to loosen the bolt on your stem, turn the bars in and then tighten the stem again. If you’re packing a road bike with drop handlebars you may also have to loosen the clamp that links the bars to the stem and turn the bars in even further. To save time and effort with this, I prefer to remove the stem and handlebars completely from the frame, pack it in bubble wrap and then attach it to the frame with zip ties. Doing this means you narrow the profile as much as possible. The padding and zip ties makes sure that it isn’t moving around in transit, scratching your lovely frame!
You’ll have to remove the pedals. Pack them up nicely in some bubble wrap or use a specific compartment in your bag or box, if you have one. If you have pedals that fold in, then you’ve less work to do! Just fold them in!
You’ll need to deflate your tires, otherwise they’ll go pop at 30,000 feet and you’ll spend the first few days of your trip trying to buy inner tubes!
Bars, pedals and tyres, that’s what all the airlines mention. But in our experience, if you’re using a bike bag or a cardboard box, there’s a few other things it’s worth doing:
If you’re packing a geared bike, it’s wise to remove the rear derailleur as it can easily get bashed and bend the frame. You don’t have to worry about fully removing the cable, you can just leave it hanging and wrap it up in some padding and zip tie it to the frame to stop it flapping about.
You’ll likely be removing the wheels from the frame. It’s a good idea first to take out the skewers or axle to narrow the profile of the wheel. Then you can pack each wheel into its bag, or wrap up each wheel in padding if you’re taking the budget cardboard box approach.
If you’re tall, you’ll probably want to lower the saddle so you can fit your bike into the bag or box. It might even be best to remove the saddle and seat post entirely from the frame.
It’s worth remembering at this point that, on arrival at your destination, you’ll need to build up your bike again. So don’t forget to take all the tools you’ll need to do this! If you’re lucky it’ll just be a multitool like this one, but depending on your bike, you may need to take specialist tools along with you.
Right, all being well, you’ve now got your bike packed up. But before you zip it closed or tape up the box, here’s a final tip…
Get on your bathroom scale and see how much the whole package weighs. For a start, you’ll want to make sure you’re within the airline’s weight limit. But here’s the good bit - if you’re under the weight limit, you can start thinking about packing other, non bike stuff into your bike luggage. You can read all about how I managed to get two boxes of Crunchy Nut Cornflakes into my bike box on my trip to India in this blog, here.
If you’re tipping the scales over the limit, consider putting some of the bits and pieces you have removed into your hand luggage or other bags - you’ll be surprised at how much pedals or a saddle and seat post can weigh!
3. Getting to the airport
When you’re focussed on packing your bike and all the different rules your airline has, it’s easy to forget that you have to get the thing to the airport.
Some hardy souls ride their bike to the airport and pack it there, but most of us will be taking a taxi, train or bus, or will be driving ourselves to the airport.
If you’re taking public transport, think about how you’ll manage this. Remember, you’re probably taking other bags as well, so you’ll need to make sure there’s enough space.
Will the taxi be able to fit the box? Speak to your driver when you make your booking to check what vehicle they are using and if they are happy to carry a large piece of luggage. FYI, a cardboard bike box fits into a London taxi, just…
If you’re taking a bus, coach or train, you’ll probably not have any problems, but you might want to check the operator’s website for any rules they might have, or call them and ask.
4) Checking in at the airport
This is where the fun really starts, because until now, you’ll never have noticed that a lot of doorways, travellators and other miscellaneous airport things are narrower than you might have thought. Those snaking lines they create with barriers in the queue, well, they weren’t thinking about you and your bike when they set those out! FYI, you will spend a lot of your journey from the drop off to check in wheeling your trolley sideways as this is often the only way you can get through some of the gaps.
Let’s assume you’ve managed to get to the queue for your check in desk. You’ll probably be greeted by someone from the airline asking you where you’re hoping to go. Now’s the time to be terribly polite and to look at your most frazzled, because what you’re hoping for is to be ushered to a check in desk without having to wait in the long queue. On my most recent flight, I got taken to the business class check in, which was nice!
Next stop is the check in desk itself - if you were required to inform the airline in advance, you’ll probably breeze through this part. But if not, expect to have to explain to them that yes, it’s a bike; yes, you’ve folded in your handlebars; yes, you’ve removed your pedals; and yes, you’ve deflated your tyres.
Sometimes they’ll take you at your word that the box is within the set weight limit, but you may have to take the box to a scale to prove this since there’s little chance that your box will fit onto the scales that are integrated into the check in desk.
There is a chance that you may be asked to open everything up to show the bike or repack a certain item. This is all fine if you’re using a hard case or bike bag - but if you’re using a cardboard box, all your packing tape is about to be cut open.
So, top tip time, to avoid frustration at this point, take a roll of packing tape with you in case you need to re-seal your cardboard box!
Assuming all is well, you’ll be issued with the same kind of tags for your box as you would your suitcases and you’re ready to head to a part of the airport that, until now, you never knew existed - the oversize baggage department!
Here you will find a rather sleepy looking member of staff and an enormous x-ray machine. You’ll hand over your pride and joy and watch it disappear, not to be seen again until you arrive at your destination.
With that, you’re a normal traveller again, free to wander the duty free without a care in the world, save for the nagging doubt your bike is about to end up in Gambia and not Zambia.
So, sit back, browse the in-flight magazine, ponder the relative benefits of chicken over fish and try to grab a nap while a toddler kicks the back of your seat for three hours, because you only have one stage left in your epic journey of global bicycle logistics.
5) Arrival
So, all being well, you’ve landed at your destination. I’m sure you’re well rested and your back has never felt better. I have no doubt your plane docked at the gate nearest the immigration hall and you remembered to fill out the little form well before you got to the front of the no doubt non-existent queue for passport control. Off to the carousel we go!
Except your bike isn’t going to appear at the carousel, because, remember, we now exist in the parallel universe of Oversize Baggage…
This can be an anxious time because you’re wanting to make sure no one else picks up your bag from the carousel (is this really how we still do things in 2022?). But you also want to be there when your bike emerges from, well, wherever it’s going to emerge.
Because, and here’s the thing, every airport does this differently.
In some places, your bike will emerge from a door at the carousel assigned to your flight. In others, it will appear at a special oversize baggage carousel, of which there may be more than one. And in some places, it’ll just appear somewhere entirely random.
So, as soon as you reach the baggage hall, ask someone how it works at that airport. And good luck, because whatever they tell you might just turn out to be what they do on every day except Thursdays, which, of course, is the day you arrive.
Right, I’m going to assume all has gone well and you are reunited with all your luggage, oversize and regular. You’ve one hurdle to clear - customs.
Obviously, each country has its own rules here, but I don’t know anywhere that prohibits the importation of a bicycle. However, this assumes they believe that the bicycle you’re bringing isn’t a brand new one. I’ve never heard of this being an issue, but it’s worth bearing in mind, just in case…
Now, assuming that, unlike me last week, you’re not flying on to another destination locally, you’re done! All that is left for me to do is wish you luck with whatever local transport you have arranged - you’ll be surprised at what a TukTuk can carry!
One final tip for those using a cardboard box: unless you’re sure you can get hold of a new one easily, do not throw it away! Fold it up and keep it for your return journey. So far, I’ve managed to use mine 7 times!
So, wherever it is you're planning to go - Enjoy Your Ride!
We would love to hear about your experiences flying with a bike - tell us in the comments below or head to our social channels and join the conversation! You can find us on Facebook & Insta,